
Most digital networks I've interacted with are wireless. Whether that be cellular, WiFi, it's not very common to establish a network connection physically. But I decided to do that. In this lab, I used an Ethernet cable to connect my Thinkpad T480, with Fedora Linux, to my Dell Inspiron, with Windows 11. I then virtualized machines on each computer, and had them communicate to analyze it.
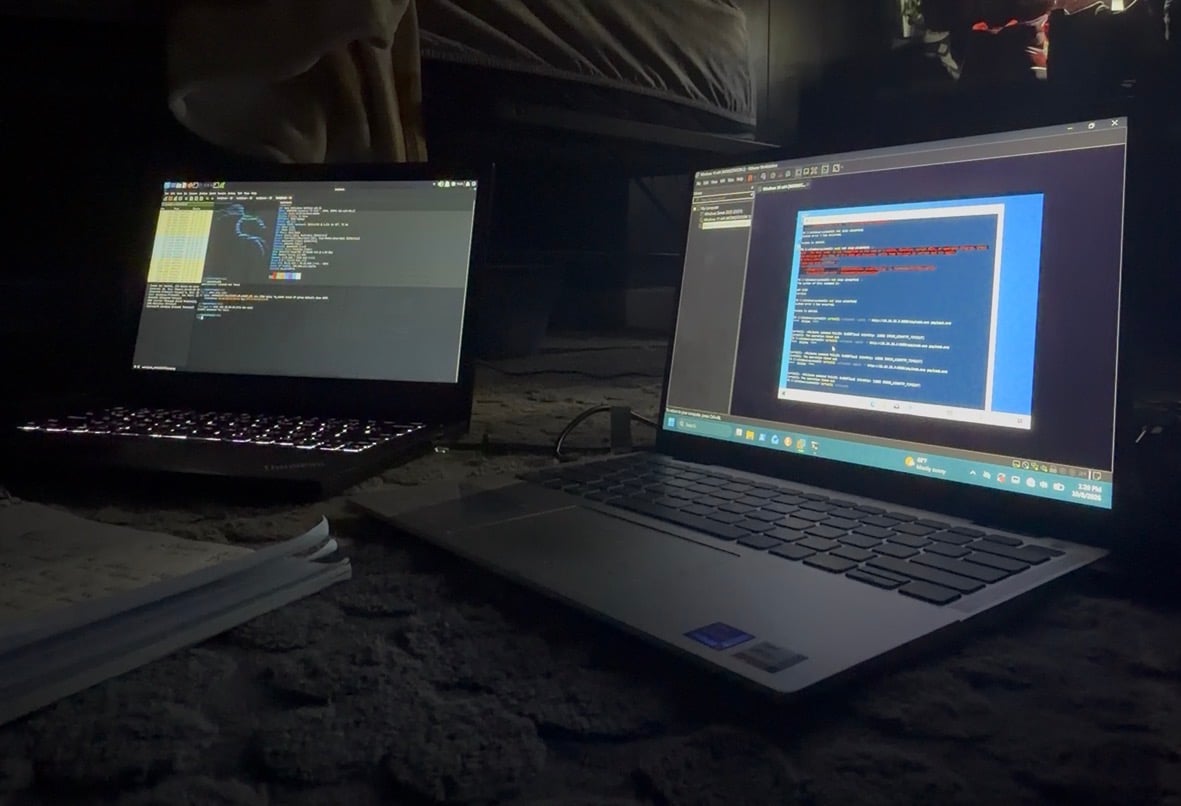
Before anything, I disabled WiFi on both computers to prevent interference. I began connecting the wire into the Thinkpad, since it had the appropriate physical port. I then connected it to the Dell, using an adapter. After establishing the link, I manually configured the IPv4 addresses by using static IP's, since there was no router to automate the DHCP. I began this process by opening the Network Control Panel on Windows, and setting the static IP through the GUI. I then researched how to confgure static IPs through Fedora Terminal. After assigning static IPs, I then opened Windows Terminal to test packet transfers. After running 'ping' returning 100% packet loss, I decided Windows Firewall could be interfering with the connection, since this is an unknown, recently established network. I tested this theory by running 'ping' in my Fedora Terminal, and this returned 0% packet loss, confirming that Windows Firewall was interfering with the connection. So, I ran a command to disable my Windows Firewall. Of course, I subsequently reenabled my firewall to default settings after the lab. But once I confirmed there was 0% packet loss from either end, it was time to begin getting fancy.
This is where it get's interesting. After establishing a network connection using static IPs and a physical ethernet cable with no router, I began the virtual machines. I had already configured virtual machines on both my devices prior to this lab, but I used Kali Linux via QEMU/KVM libvirt, whereas on Windows I ran a Windows 10 Home machine on VMWare. I then also ran Windows 11 Home. After booting and running the virtual machines, it was time to connect them. I always knew that virtualization "tricks" your hardware, but I didn't assume that it influences network capabilities, but it makes clear sense in hindsight. I established a new network on VMWare, all through their GUI, to create a network between the Windows VMs. So on my Kali Linux, I created a bridge device and assigned it the static IP. Then, I made the endpoint a slave to that device, so now the physical port is owned by the bridge. So, the traffic goes from Kali -> bridge device -> ethernet -> Dell -> Windows VM. I basically did the same process from Linux to Windows, and bridged the Windows VMs through VMWare. I tested all virtual machines by sending 'ping' on each respectively, an received 0% packet loss for all of them. I have officially configured a real network connection.
Something I noticed about my own workflow in this lab, is that when I'm unfamiliar, its typically quicker for me to get lost in the GUI than research command syntax. But on the contrary, if I already know that command it is much faster for me to run that then use the GUI. After noticing this, I applied that strategy to the rest of the lab.
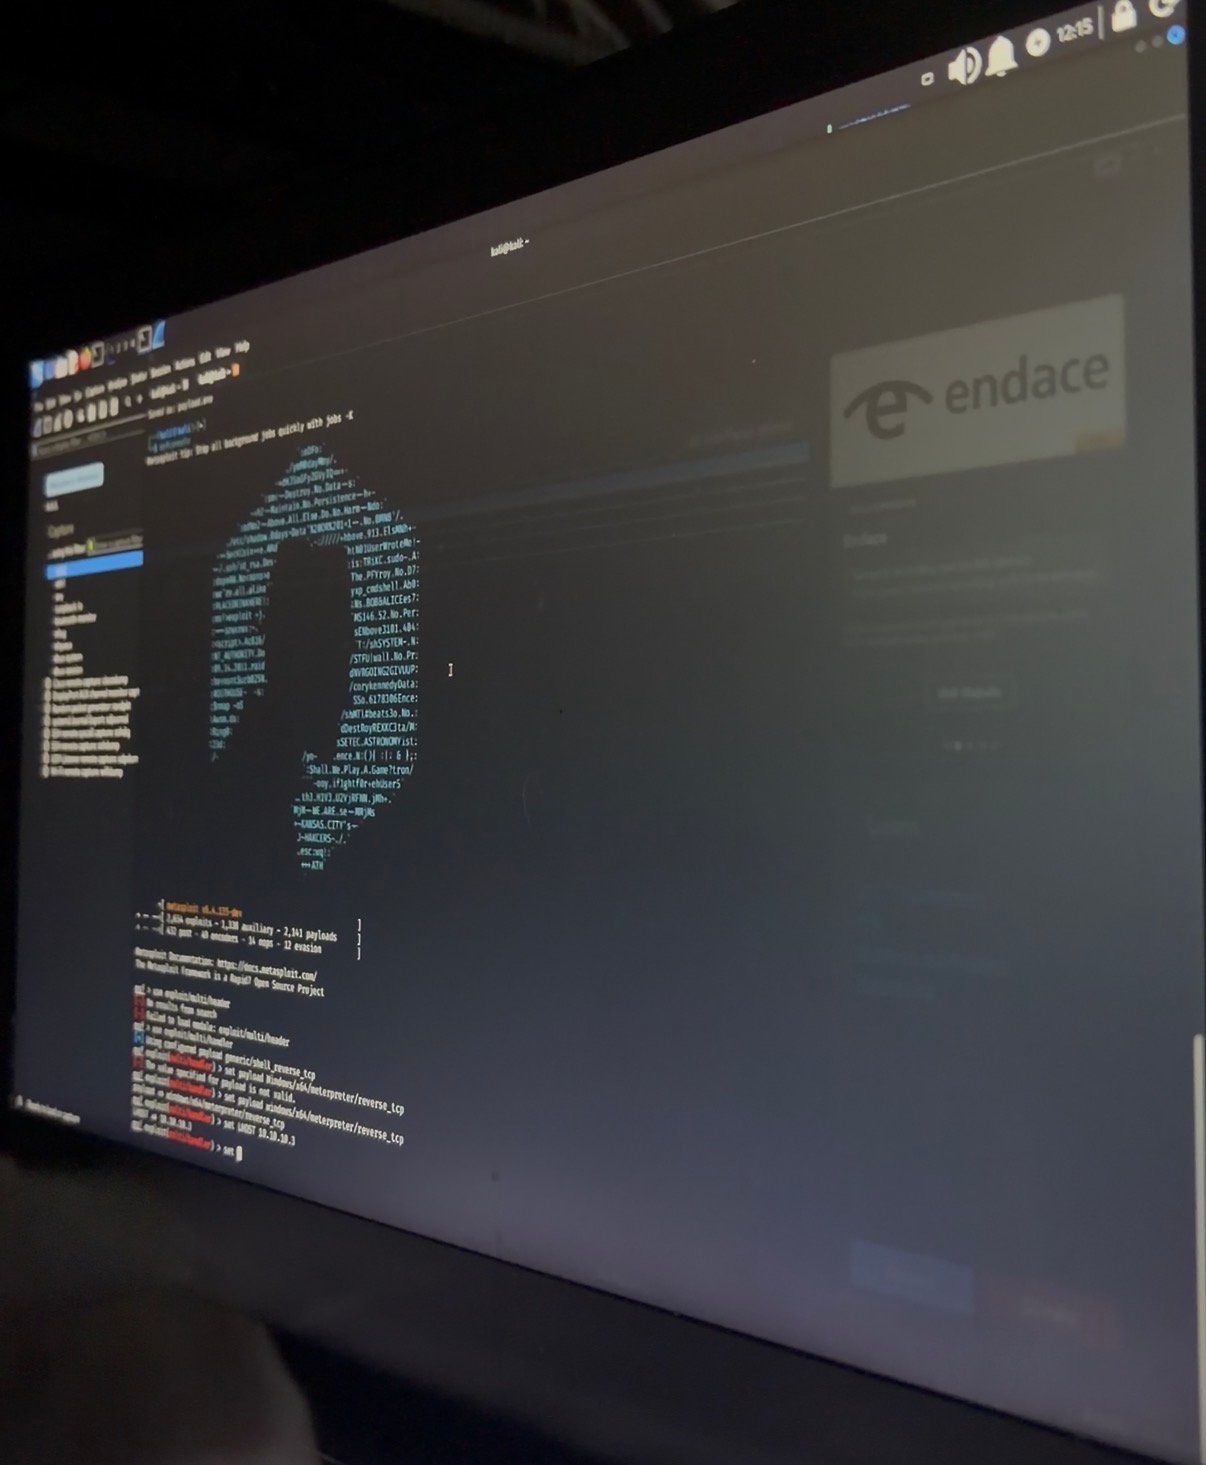
This was the fun part. Now that I had the connection, it was time to use the malicious tools and examine the traffic. I began by running the msfvenom exploit in the Kali Linux CLI. Certutil downloaded the payload from Kali's HTTP server, and ran it on the Windows 10 machine. As I ran the payload, Windows Defender did it's job by trying to protect the machine, since, msfvenom is not a unique malware. Anyways, I had to privilege escalate and disabled Windows Defender all together to allow the payload to be received. I went back to Kali, did it again, and this time the Meterpreter session opened in the terminal. The exploit worked, and the payload sent. I then analyzed the entire flow of traffic in Wireshark. I saw the HTTP GET, the SYN to port 4444, and session traffic.
I learned a good amount from this lab. This aided my reinforcement of the OSI model, networking, system administration, virtual machines, malicious frameworks, etc. I had fun doing this lab too. Configuring the virtual machines, creating a network, configuring IPs, configuring Windows Firewall & Defender, playing with malicious code, it was more extensive than I had imagined it would be. And finally, the funnest part was sending the exploit, then watching it in Wireshark in real time, as a real network analyst would see malicious traffic. Ultimately, this lab was really fun, and I learned a lot of valuable information about networks.