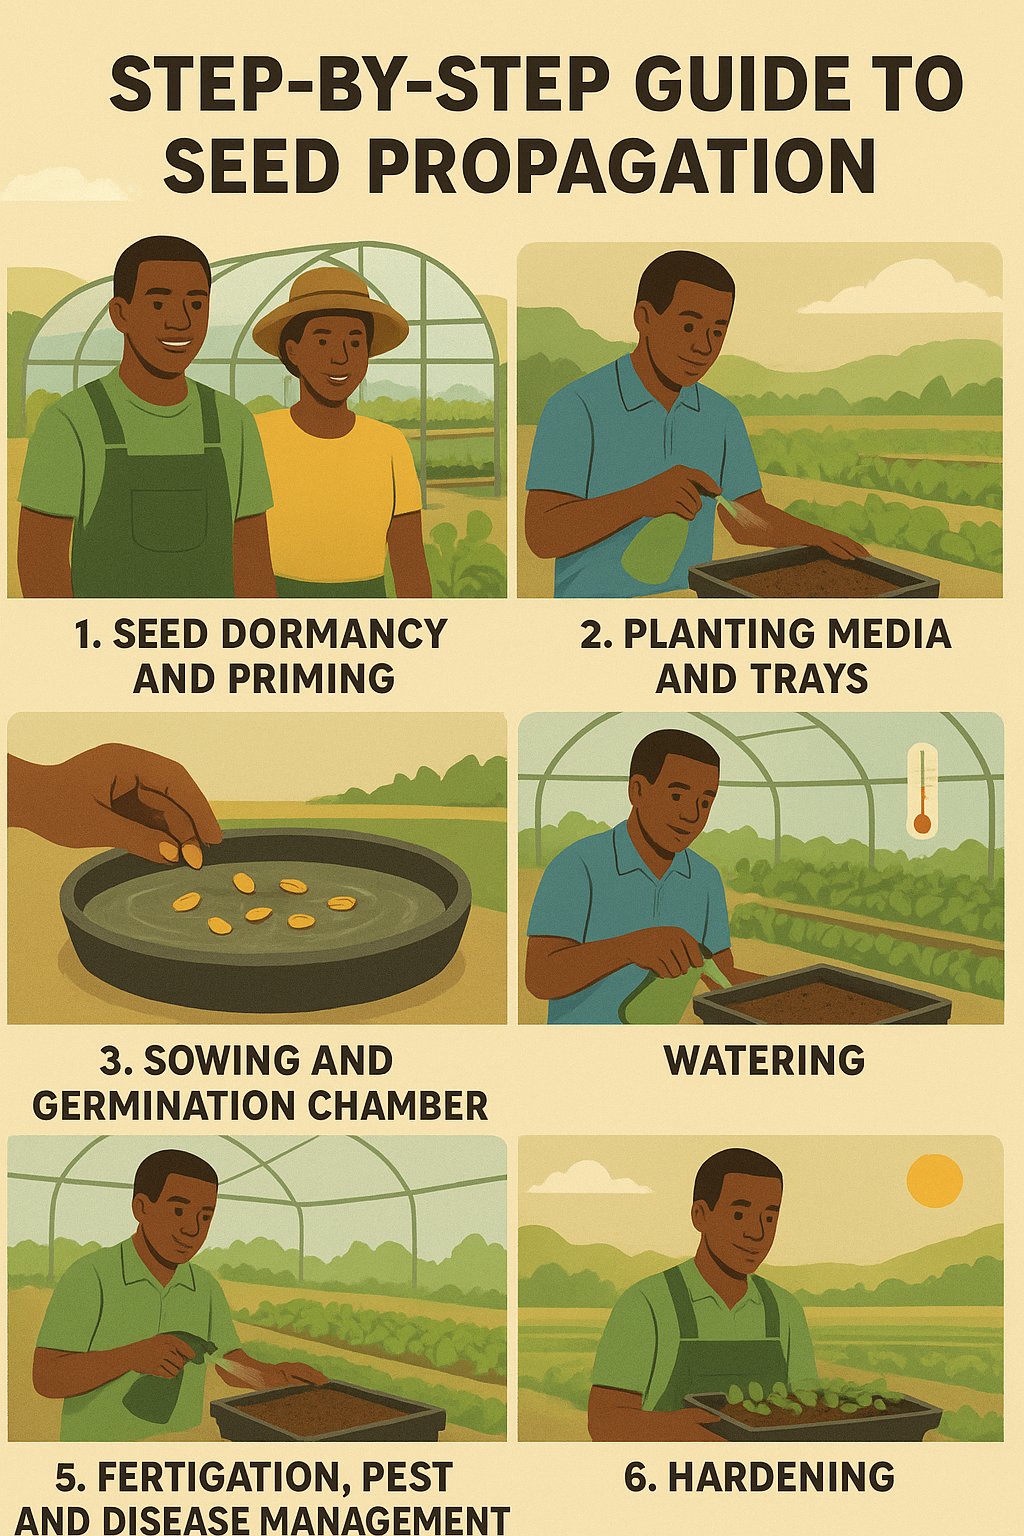

In 2025 April, two young farmers from Lariak farm in Laikipia Kenya collaborated with Lil Nouns and received a grant to establish a seed propagation greenhouse to provide farmers in the local community with quality seedlings. The duo being experienced farmers, assumed that the task was simple, by benchmarking from other established propagators. Little did we know that we had ventured into one of the most gatekept sectors of agriculture in Kenya. We soldiered on,failing the first time but we eventually succeded. From then onwards, in the spirit of post authorship, we decided to publish a step by step guide for all the world to see. Infor mation desires to be free.
PREFACE
In our greenhouse, we decided to propagate mainly vegetables that are grown in the sorrounding community. Laikipia is a robust horticultural region specializing in brassicas such as cabbages, broccoli and cauliflower, spinach, tomatoes,capsicums and chillies, and herbs.The journey from seed sowing to harvest is one of utmost care, where even the most minute of details can have the most pronounced effects. In this guide, I will be taking you on a detailed breakdown of the seed propagation process from beginning to transplanting.
STEP 1 : SEED DORMANCY AND PRIMING.
When conditions are not optimal germination, seeds deploy mechanisms thta hinder germination. As a seed propagator, it is optimal to maintaim a high germination rate of above 95%. One of the most effective methods of breaking seed dormancy is seed priming. Seed priming involves soaking the seeds in warm water for 24hrs, then drying them and storing them in a dark place for about 3 days. This ensures the seed germinates when it is sown in the planting media later on.
STEP 2: PLANTING MEDIA AND TRAYS
In the greenhouse, it is important to maintain a sterile environment. At the beginning, it is important to disinfect the planting trays with antiseptic and fungicide. As we will later see, fungi are the number one enemy for seedlings in the nursery stage.
The next step after this is to prepare the planting media, which can be either peat moss or coir peat. In our case, we prefer peat moss due to its low effort preparation which is essential especially when dealing in bulky amounts. The media is broken down by hand into fine particles and mixed weight wise with organic fertilizer in the ratio of 1:2. After thoroughly mixing it, proceed to wet it with a water and foliar solution mixture of NPK fertilizer, cytokinins and auxins and humic acid. These will serve a vital part in boosting germination rate as:
Auxins and cytokinins stimulate plant growth boosting root development and shoot elongation of the young seedling
NPK serves as nourishment for the young seedlings with high phosphorus content being an instrumental nutrient to hamper growth.
Humic acid promotes seedlings water ambition and increasing seed vigor for growth.
STEP 3: SOWING AND GERMINATION CHAMBER
After lightly packing the wet media in the trays, the seeds are then sown one by one. They are then covered lightly with a quarter inch layer of media. A germination chamber mainatins an optimal temperature of between 20 to 28 degrees celcius. Maintaining a constant temperature is key to boosting germination rates. However, brassicas and spinach are NOT to be incubated. Tomatoes and capsicums work best in germination chambers due to thier hard seed coat.
STEP 4: WATERING
The watering schedule should be strictly adhered to especially at the early stages of germination. A good way to determine whether the crops are to watered is to observe the media. When the media seems to be drying out it is a good indicator to water the crops. One the other hand, overwatering young seedlings is a way to spread damping off disease which can be lethal to young seedlings. It is important to strike a balance in your watering schedule which should be determined by things like weather, humidity and temps.
STEP 5: FERTIGATION, PEST AND DISEASE MANAGEMENT.
For the 4 weeks the seedlings will spend in the nursery, your foliar feeding schedule will look like this.
Week 1 - NPK+cytokynins and auxins+humic acid+fungicide+pesticide
Week 2- NPK+cytokynins and auxins+humic acid+fungicide+pesticide
Week 3- NPK+fungicide+pesticide
Week 4- NPK+fungicide+pesticide
It is crucial to make sure you observe the well being of the seedlings, with any minor defects being corrected ASAP as these can manifest into major issues that will affect your seedlings.
STEP 6: HARDENING
Hardening involves the gradual reduction of the water volume one feeds their seedlings during the last week just before transplanting. This is done hand in hand with exposing the seedlings to direct sunlight.This is an important step because it serves as an adaptation mechanism for the plant to reduce transplant shock after planting them in the fields where the conditions may not be as favorable as the conditions in the controlled environment of the greenhouse.
CONCLUSION
Propagating seeds succesfully can be quite a task especially for a first timer. This guide gives you a good picture on how the process looks like from beginning to end. It is inevitable to make mistakes the first time you venture into a new field but take heart, if you continue trying and dont give up, you will undoubtedly suceed in the end. Acheiving an optimum germination is a product of experience and diligence which can only be cultivated over time, so take heart, the first step is always the most important!