

$
rm -rf $HOME/massa

rm -rf /etc/systemd/system/massad.service
rm -rf /etc/systemd/system/multi-user.target.wants/massad.service
Download ready-made binaries from the official github (this link is relevant for episode 26.1 of the node, if you are reading this guide, but there is already another episode or a new version is available, try changing the number 26.1 in the link to the number of the current episode, version):
wget https://github.com/massalabs/massa/releases/download/TEST.26.1/massa_TEST.26.1_release_linux.tar.gz
$$$ Unpack the downloaded archive
$$$
tar zxvf massa_TEST.26.1_release_linux.tar.gz
```$$
You won’t believe it, but that’s it! You have installed the node.

Step 3
Before starting the node, we will create a config file with the ip-address of your server into it — for the node to be routable (just copy and paste whole block without changing anything):
$$$
sudo tee </dev/null $HOME/massa/massa-node/config/config.toml [protocol] routable_ip = "wget -qO- eth0.me" EOF
**Step 4**
We create a **service file** for the node to run in the background and does not stop after closing the terminal.Please note — replace the word **YOUR_PASSWORD** with your own password.
(Copy the block below in Notepad, replace the word **YOUR_PASSWORD** with your password and paste it entirely on the command line, not line by line.)
printf "[Unit] Description=Massa Node After=network-online.target [Service] User=$USER WorkingDirectory=$HOME/massa/massa-node ExecStart=$HOME/massa/massa-node/massa-node -p YOUR_PASSWORD Restart=on-failure RestartSec=3 LimitNOFILE=65535 [Install] WantedBy=multi-user.target" > /etc/systemd/system/massad.service
Next, run the node using the service file (3 commands):
sudo systemctl daemon-reload sudo systemctl enable massad sudo systemctl restart massad
Checking that the node is working properly:
sudo journalctl -f -n 100 -u massad

**Until there is a successful bootstrap, it makes no sense to continue further.**To exit the logs, press the **Ctrl + C** combination.
# **Step 5**
Now let’s move on to setting up the client / wallet.Launching the client for the first time. It will require, like the node, to come up with a password (I advise you to create the same as on the node, although most likely this is not entirely correct).
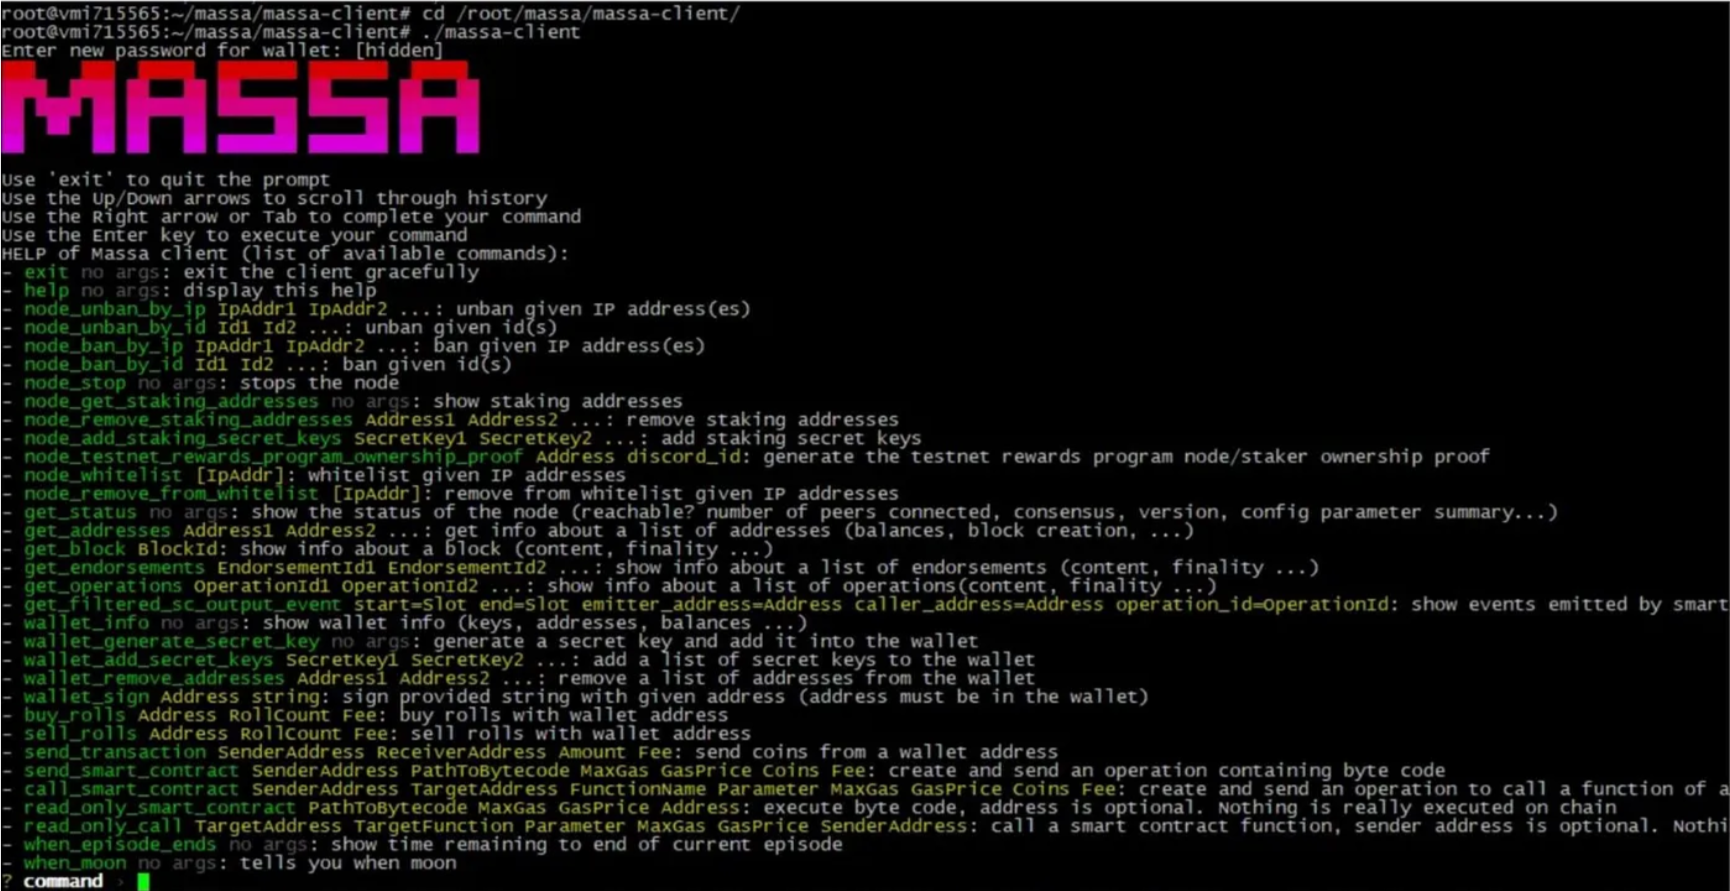
cd $HOME/massa/massa-client/ ./massa-client
You are asked to come up with a password and repeat it again — then you get inside the client:
Next we need to generate a new wallet:
wallet_generate_secret_key
You will be shown the address and reminded that you should register wallet address to start staking.
Copy the wallet address and add it to the stake
node_start_staking WALLET_ADDRESS

To exit the client press **Ctrl+C** Checking that the node is ok:
cd /$HOME/massa/massa-client/ && ./massa-client -p YOUR_PASSWORD wallet_info
# **Step 6**
Go to the discord section \*\*[\#testnet-faucet](https://discord.com/channels/828270821042159636/866190913030193172) \*\*and send your wallet address there.
Check if the coins have arrived (usually they arrive instantly)

It remains only to **buy** a **roll** for our coins.We go to the client:
cd /$HOME/massa/massa-client/ && ./massa-client -p YOUR_PASSWORD
and in the client we buy a roll using the command:
buy_rolls YOUR_WALLET_ADDRESS 1 0 In the above case, the command looks like this: buy_rolls A1zpSerGtbwjiAEK3yueeTAFTgFzrFtJ3p33c4ACu9ytDFQTAjU
And without leaving the client, we execute the ***wallet_info*** command to make sure that the roll was bought:

Now we wait 1 hour 40 minutes until the roll becomes active and the staking of coins begins.
## Keep following the guide, the password of the node and the client should be the same as before, also there is no need to generate a new wallet, because the old one will be restored.
Usfeull commands: To restart the node — sudo systemctl restart massad To stop the node — sudo systemctl stop massad To view logs — sudo journalctl -f -n 100 -u massad To enter the client — cd /root/massa/massa-client/; ./massa-client; cd Hardware requirements: Right now 4 cores and 8 GB of RAM should be enough to run a node. Suitable servers: ```